
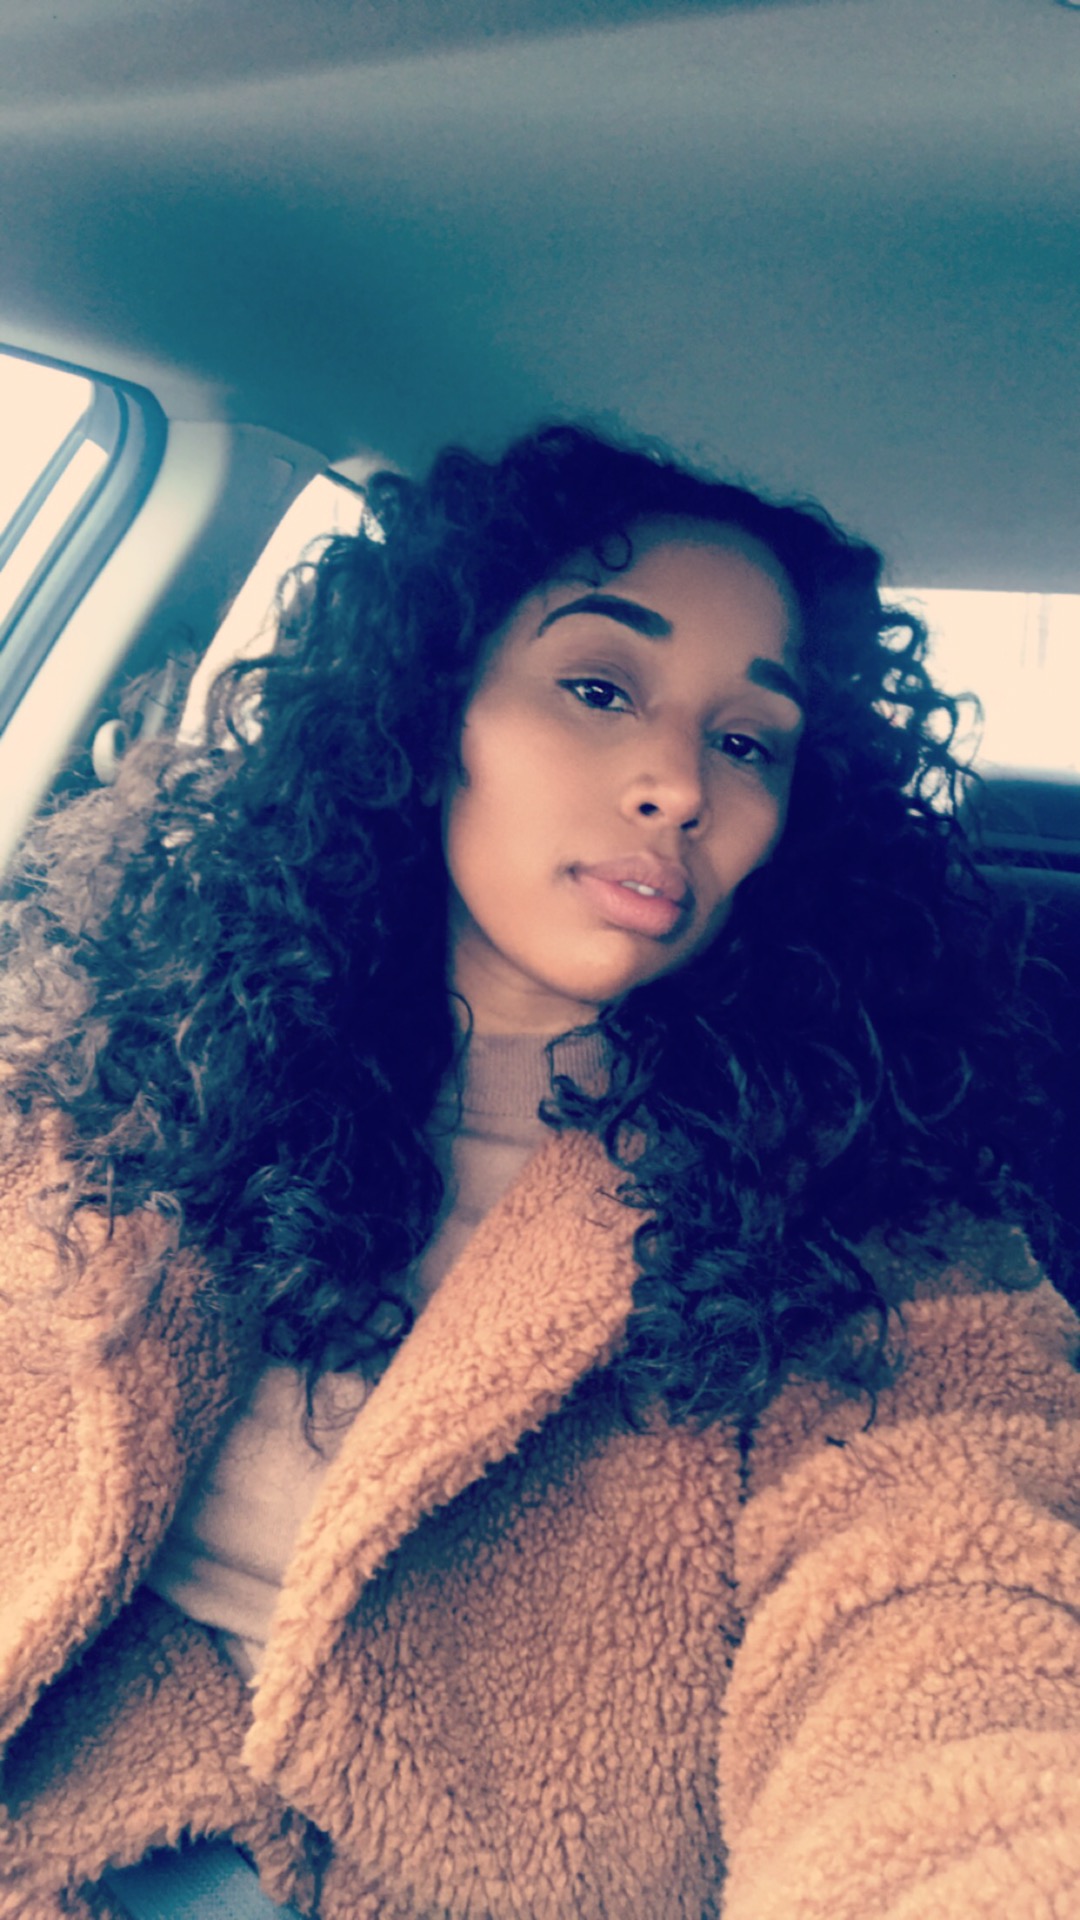
 Bantu knots were always one of my go-to styles, especially when my hair was chemically damaged and my curl pattern was suffering! They are easy to do and can be worn for a few days if they’re done properly. This is a great style if you’re trying to grow your hair or avoid heat.
Let’s get started!
Start with clean, dry hair. It’s easiest to work through the hair when it’s blow dried and detangled.
Use your comb to part your hair into sections of about 2 inches. Some sections may look bigger than others, but you want to make sure that when you start to twist each section of hair that they are all roughly the same thickness. Bigger sections yield looser coils and alternately smaller sections yield tighter coils.
Now that you’ve sectioned your hair, you’re ready to start twisting. You will want to comb through the section with a light conditioner. You can use any lightweight conditioner, I don’t recommend any specific one. Make sure you don’t use too much product (it will weigh down your hair and also take longer to dry) and make sure that the product is evenly distributed and reaches the ends. It’s important to make sure the ends get product because having straight ends can mess up the whole look.
Once you’ve combed the product through, start to twist from the root to the ends. As you keep twisting, the hair will naturally try to start forming a coil. Hold your fingers at the root so that the coil starts there and then keep twisting and wrapping the twisted strand around the base/root of the coil until it forms a semi-cone structure. When you get to the end add a bit of conditioner for good measure and then secure it with a bobby-pin. Again: make sure that the ends are tucked neatly because bad ends can ruin the results of Bantu knots.
Continue to follow these steps until all of your hair is section, twisted, and pinned. (Optional: add oil to your roots with a dropper and massage into the scalp with your fingers)
Now you will need to allow your hair to dry. You can do this by leaving the knots in your hair overnight or by sitting underneath the dryer. It is very important to make sure that the coils are fully dry before taking them down because if your hair is still damp, then your hair will assume whatever it’s natural curl pattern is when you take it down. If it’s dry and has enough product, then it will remain in the coiled form.
After you’re sure that the insides of your knots are dry, start to remove all pins and release the knots. They will will fall into tight, thick coils.
Next, rub some oil onto your hands so that you don’t create too much frizz while you’re pulling the coils apart. To separate these pieces, slightly untwist the strand before you begin to pull apart smaller pieces of hair. This is important because if you just start pulling the hair apart, it will likely create a knot at the end of the hair and can cause breakage on your ends. Once you’ve separated the pieces, you can wind the curls around your fingers to make sure that they return back to the same coil form.
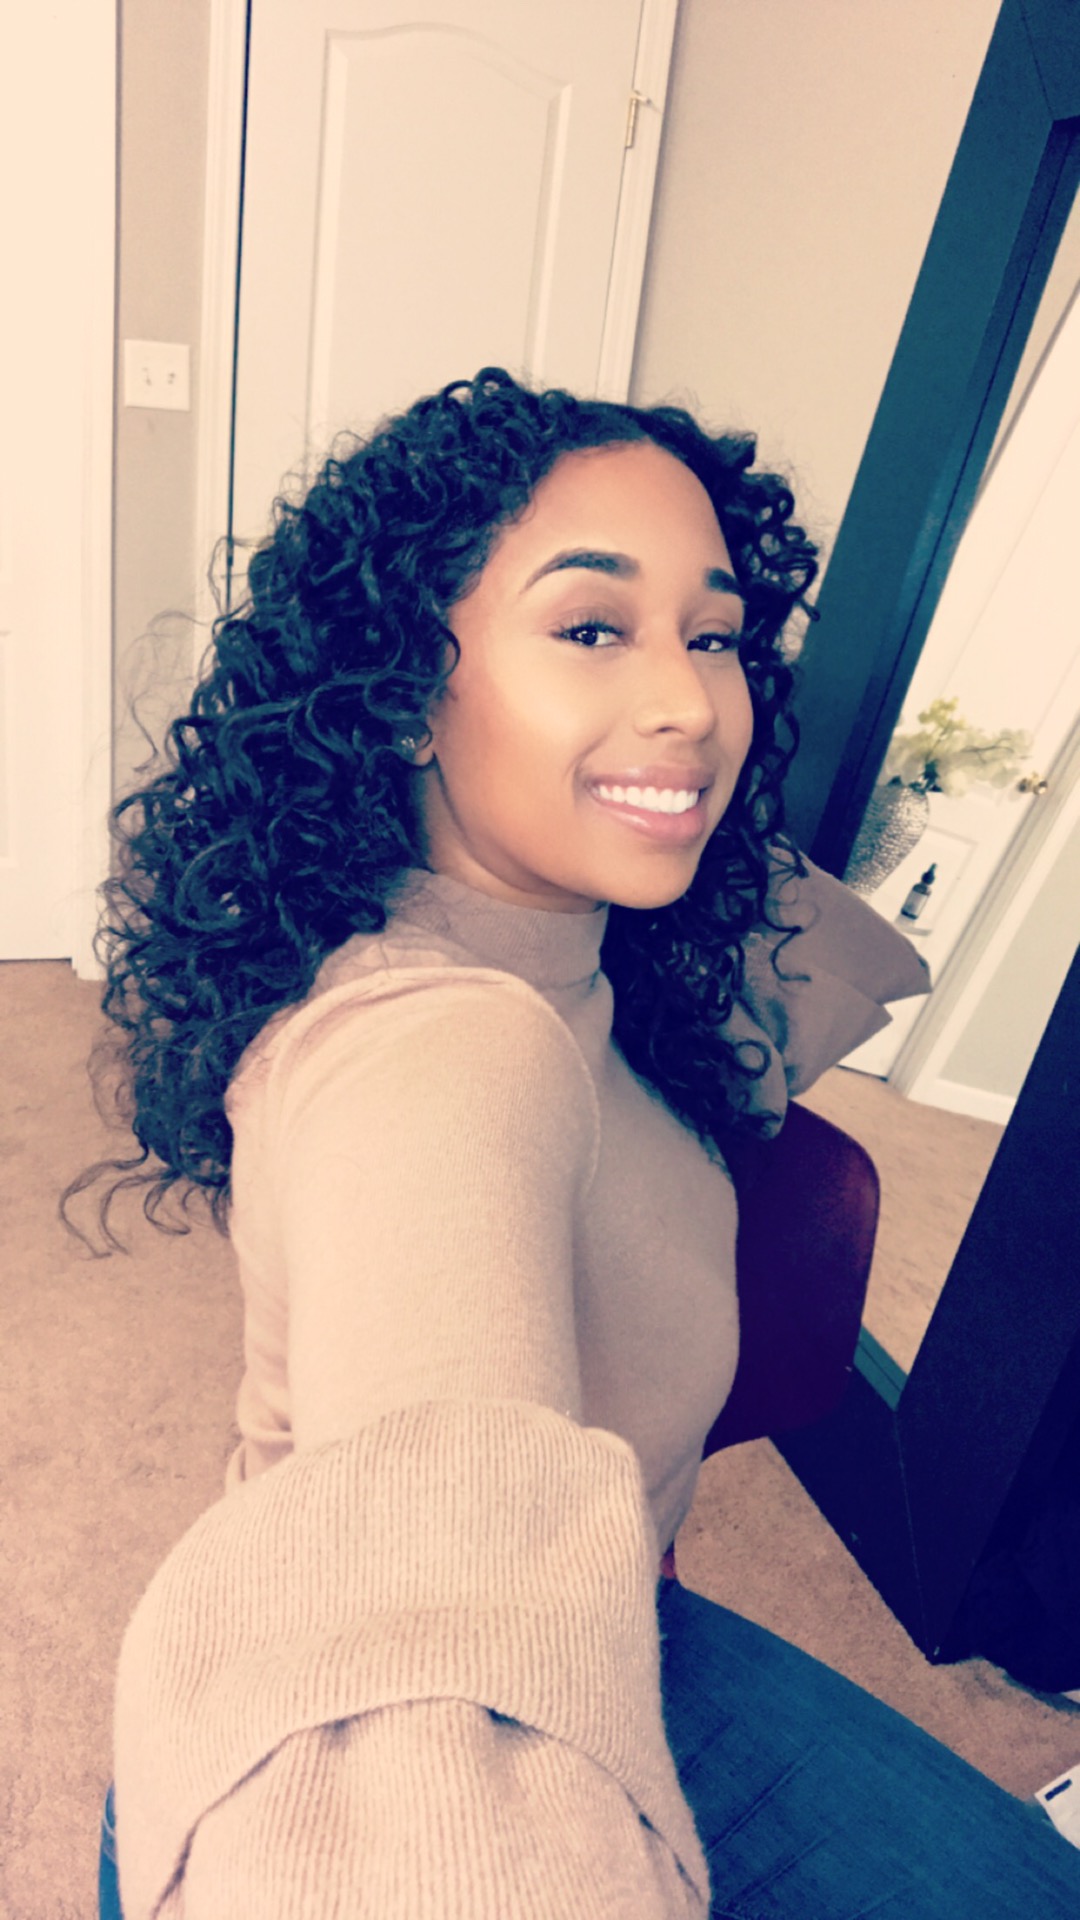
As you separate, start with chunky pieces and then continue to pull them apart into smaller and smaller pieces as you go until you reach the look that you prefer. Take your time: it’s easy to go back and separate more, but once you’ve pulled them apart it’s almost impossible to put them back together. I don’t like to pull mine apart too much because I don’t like to have any frizz, but some people prefer tiny pieces. Keep separating until you have the volume that you want. Make sure that you have hidden the parts from the sections by using a wide tooth comb to tease the hair close to those parts.
Smooth your edges and you are now done with this polished look!
